The Origins of Red Velvet Cake
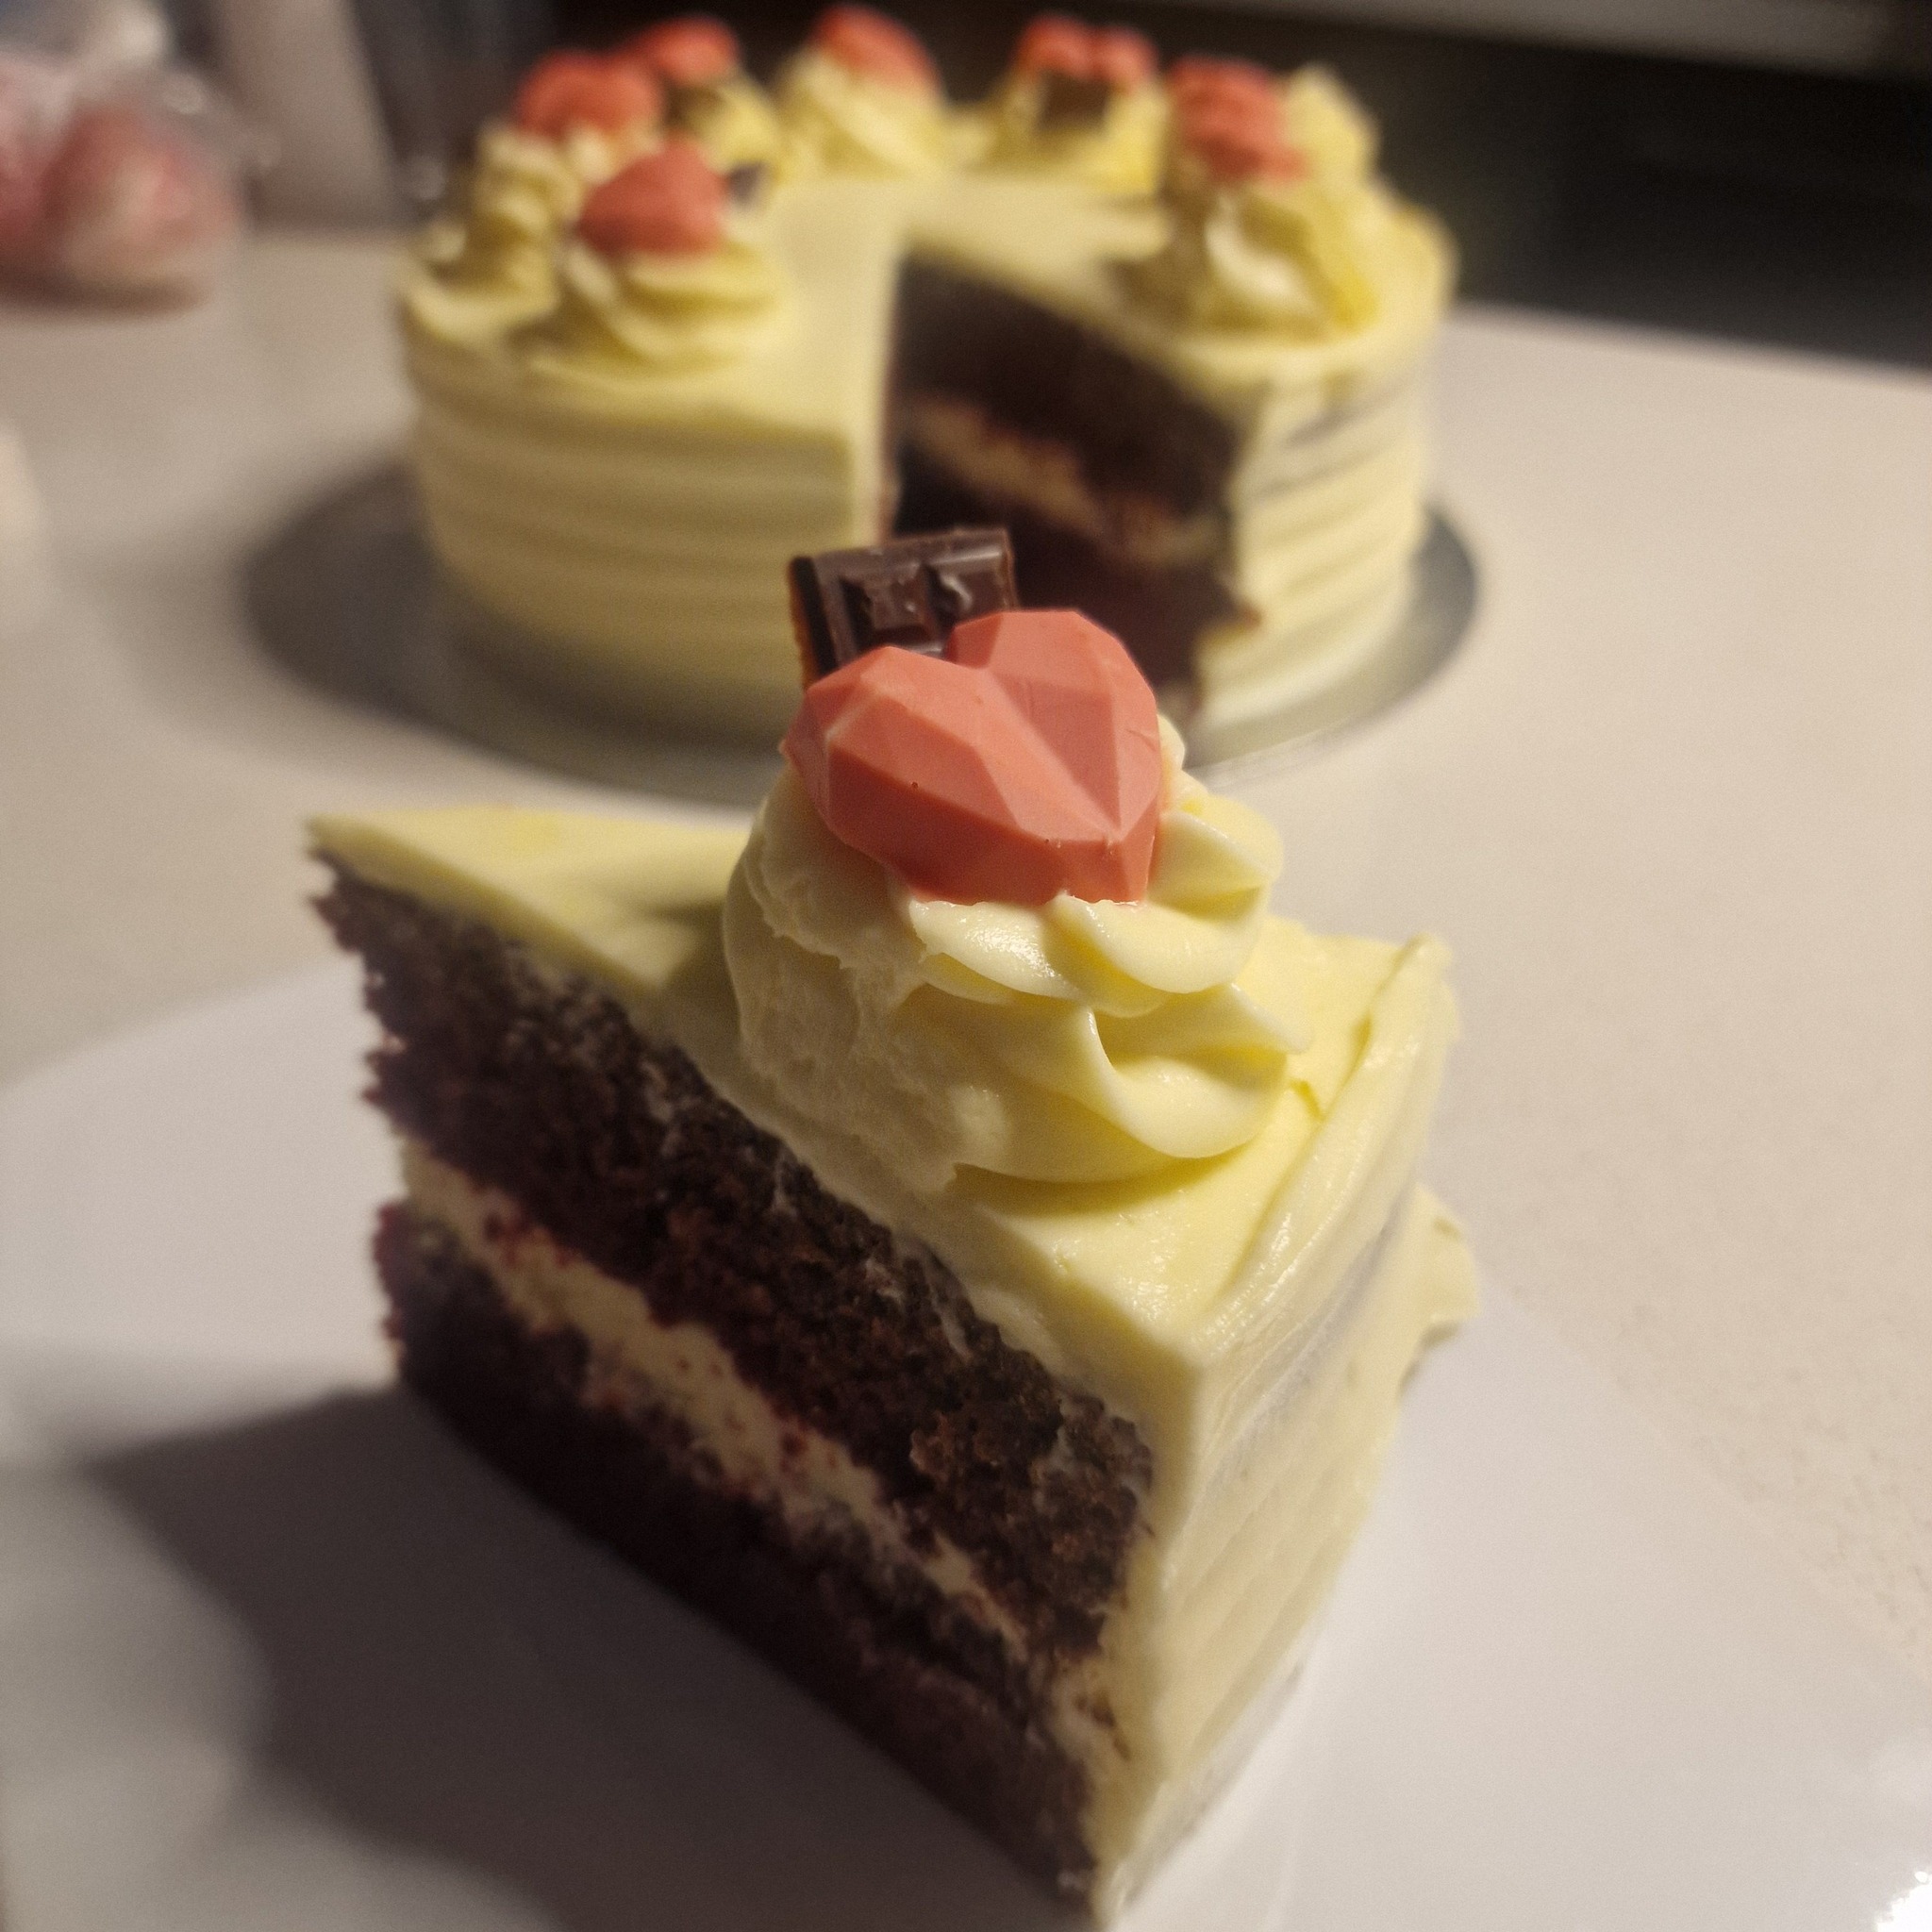
Red velvet cake has a storied history that blends culinary tradition and clever innovation. It first gained popularity in the early 20th century, with roots tied to the Victorian era, when “velvet” cakes were celebrated for their fine, soft crumb achieved by using cocoa powder and acidic ingredients. The original “red” in red velvet came not from food coloring but from a natural chemical reaction between cocoa powder and acidic components like vinegar or buttermilk. This reaction created a reddish-brown hue, giving the cake its distinct identity. The addition of red food coloring became common in the mid-20th century, largely as a marketing effort by food dye companies, cementing the cake’s signature vibrant red appearance.
Why Red and Its Effects on the Body
The modern-day red velvet cake owes its iconic color to artificial red food coloring or natural alternatives like beetroot powder. The intense red hue enhances the cake’s visual appeal, making it a favorite for special occasions and celebrations. However, there is ongoing discussion about the effects of artificial food dyes, particularly Red 40, which is one of the most commonly used synthetic dyes. While Red 40 is approved for consumption in many countries, some studies suggest it may cause sensitivity in certain individuals, leading to mild hyperactivity or allergic reactions, especially in children. For those seeking natural alternatives, beet-based or plant-derived colorings are a safer choice, offering a vibrant red shade without synthetic additives.
If you prefer a more natural approach, you can follow this recipe by omitting the artificial coloring altogether. Your cake will retain its classic velvety texture and delicate cocoa flavor, with a natural reddish-brown hue from the cocoa and acidic ingredients, making it just as delicious and inviting!

Red Velvet Cake
Equipment
- 1 stand mixer
- 2 round cake pans 20-23cm( 8 - 9 inch)
- 1 Whisk
- 1 spatula
- 1 offset spatula
- 1 turntable optional
- 2 mixing bowls
Ingredients
For the cake
- 360 g cake flour
- 1 tsp baking soda
- 10 g unsweetened natural cocoa powder
- 1/2 teaspoon salt
- 113 g unsalted butter softened to room temperature
- 300 g granulated sugar
- 240 ml vegetable oil
- 4 large eggs room temperature and separated
- 1 tbsp vanilla extract
- 1 tsp white vinegar
- liquid or gel red food coloring
- 240 ml buttermilk at room temperature
For the Cream Cheese Frosting
- 225 g cream cheese
- 225 g mascarpone cheese
- 125 g unsalted butter room temperature
- 150 g confectioner's sugar
Instructions
- Preheat oven to 170°C. Grease two (22-23cm) 9-inch cake pans, line with parchment paper rounds, then grease the parchment paper.
- Whisk the flour, baking soda, cocoa powder, and salt together in a large bowl and set aside.
- Using a handheld or stand mixer fitted with a paddle attachment, beat the butter and sugar together on medium-high speed until combined, about 1 minute. Scrape down the sides and up the bottom of the bowl with a rubber spatula as needed.
- Add the oil, egg yolks, vanilla extract, and vinegar and beat on high for 2 minutes. (Set the egg whites aside.) Scrape down the sides and up the bottom of the bowl with a silicone spatula as needed.
- With the mixer on low speed, add the dry ingredients in 2-3 additions alternating with the buttermilk. Beat in your desired amount of food coloring just until combined. I use 1-2 teaspoons gel food coloring.
- Vigorously whisk or beat the 4 egg whites on high speed until fluffy peaks form as pictured above, about 3 minutes. Gently fold into cake batter. The batter will be silky and slightly thick.
- Divide batter between cake pans. Bake for 30-32 minutes or until the tops of the cakes spring back when gently touched and a toothpick inserted in the center comes out clean. If the cakes need a little longer as determined by wet crumbs on the toothpick, bake for longer. However, careful not to overbake as the cakes may dry out.
- Remove cakes from the oven and cool completely in the pans set on a wire rack. The cakes must be completely cool before frosting and assembling.
- Make the frosting: In a large bowl using a handheld or stand mixer fitted with a whisk or paddle attachment, beat the butter on medium-high speed until smooth
- Add the mascarpone and creme cheese to the mixture until incorporated
- Add the confectioner's sugar and beat until the frosting is smooth and holds.
Assembly time
- Using a large serrated knife, slice a thin layer off the tops of the cakes to create a flat surface. Discard or crumble over finished cake.
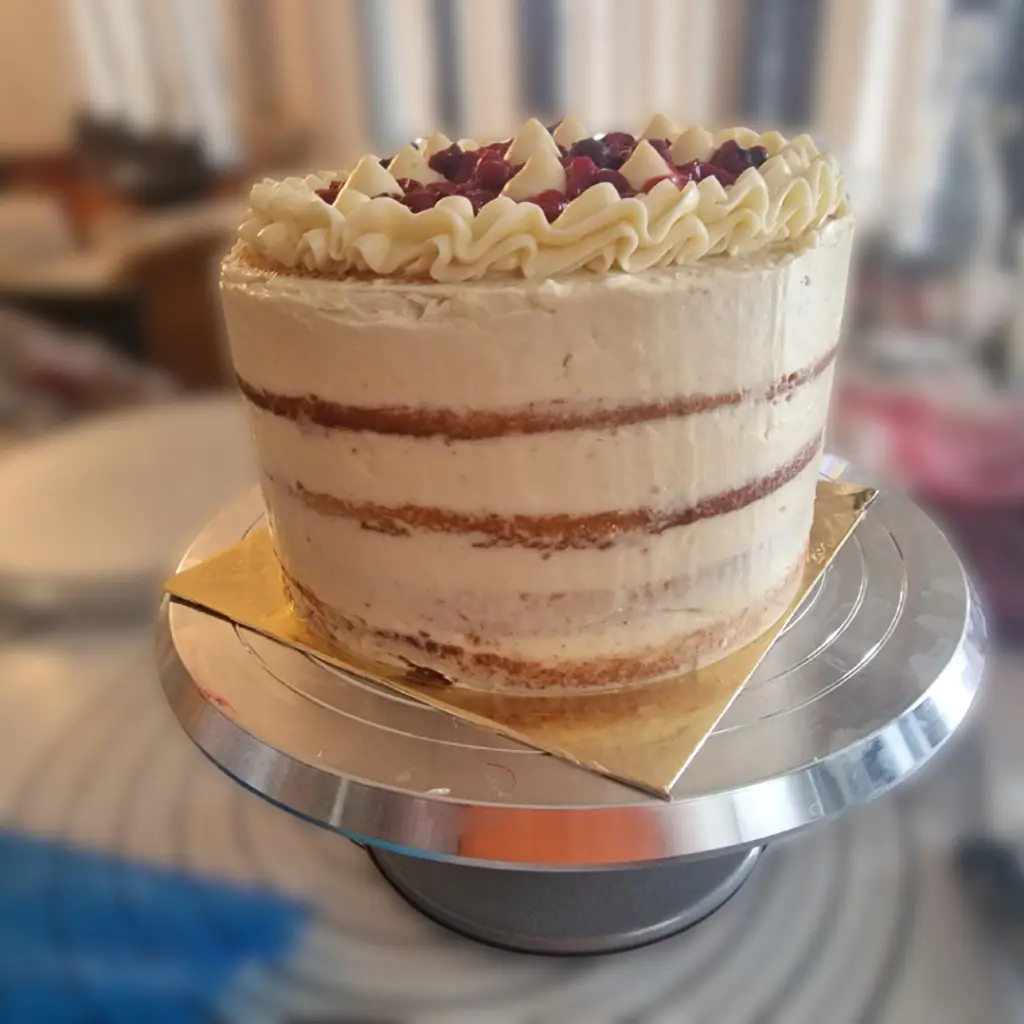
- Place 1 cake layer on your cake stand or serving plate. Evenly cover the top with frosting. Top with 2nd layer and spread remaining frosting all over the top and sides. I always use an icing spatula and bench scraper for the frosting.
- Refrigerate cake for at least 30-60 minutes before slicing. This helps the cake hold its shape when cutting.
- Cover leftover cake tightly and store in the refrigerator for 5 days.


